Install MS-DOS 6.22 in a Virtual Machine for Fun and Profit
30 Jun 2017 -
Probably not so much for profit, but wether its to play some retro video games, a curiosity and interest in vintage computing, or maybe just a stroll through tech-nostalgia, getting DOS 6.22 setup in a virtual machine is a wonderful way to spend 45 minutes. In my case, DOS was the first “modern” OS I had ever used and this would be a nostalgic trip through early 90s computing. Honestly, I used it mostly to play Doom 1, Wolfenstein 3D, and a handful of other classics like Quake 1 and Oregon Trail.
Released sometime in 1994, MS-DOS 6.22 was the last of the “stand alone” Disk Operating Systems that Microsoft would release. DOS 7.0, which shipped with Windows 95, and subsequent releases were mainly used to bootstrap the Windows GUI and offer a layer of backwards compatibility with existing software.
Requirements
Necessities
- MS-DOS 6.22 installation floppy disk images
- VirtualBox
Optional Hardware Support
- CD-ROM driver
- Sound Blaster 16 driver
Install and Configure VirtualBox
Virtual Box is a free and open-source application used for installing operating systems in to a “virtual environment”. Everything is self-contained and will have no effect out side of the VM, so don’t be afraid to experiment!
The installation of VirtualBox is pretty straight forward so I’m not going to clutter up this post with lengthy instructions. if you’re unsure of what to do, the manual should have all you need.
Create Virtal Machine
Name
Name: MS-DOS 6.22
Type: Other
Version: DOS
Memory Size
MS-DOS 6.22 supports a maximum of 64MB of RAM, so lets max it out.
Hard Disk
Choose Create a virtual hard disk now. After clicking continue, make it a (VDI) Virtual Disk Image)<. Click continue one more time and choose Dynamically Sized.
MS-DOS 6.22 supports a maximum hard drive size of 2GB but I left mine at the default size of 500MB - that should suffice unless you plan on loading up your entire game library out of the archives, in which case you may-as-well max it out to 2GB.
Click create when done.
Settings
With the VM created, theres just a couple of settings we need to tweak before booting it up. Right-click on the newly created VM and choose Settings. Under System, make sure the boot order is set to:
- Floppy
- Hard drive
You can uncheck CD-ROM if its set.
Now move on to Audio and make sure its enabled and the Audio Controller is set to SoundBlaster 16.
Finally, under Ports, uncheck Enable USB Controller - DOS doesn’t have support for USB.
MS-DOS 6.22 Installation
Before we boot this thing up, download the MS-DOS 6.22 setup floppy disk images from the link above. Extract the zip archive which contains three .img files. You can think of these as virtual floppy disks.
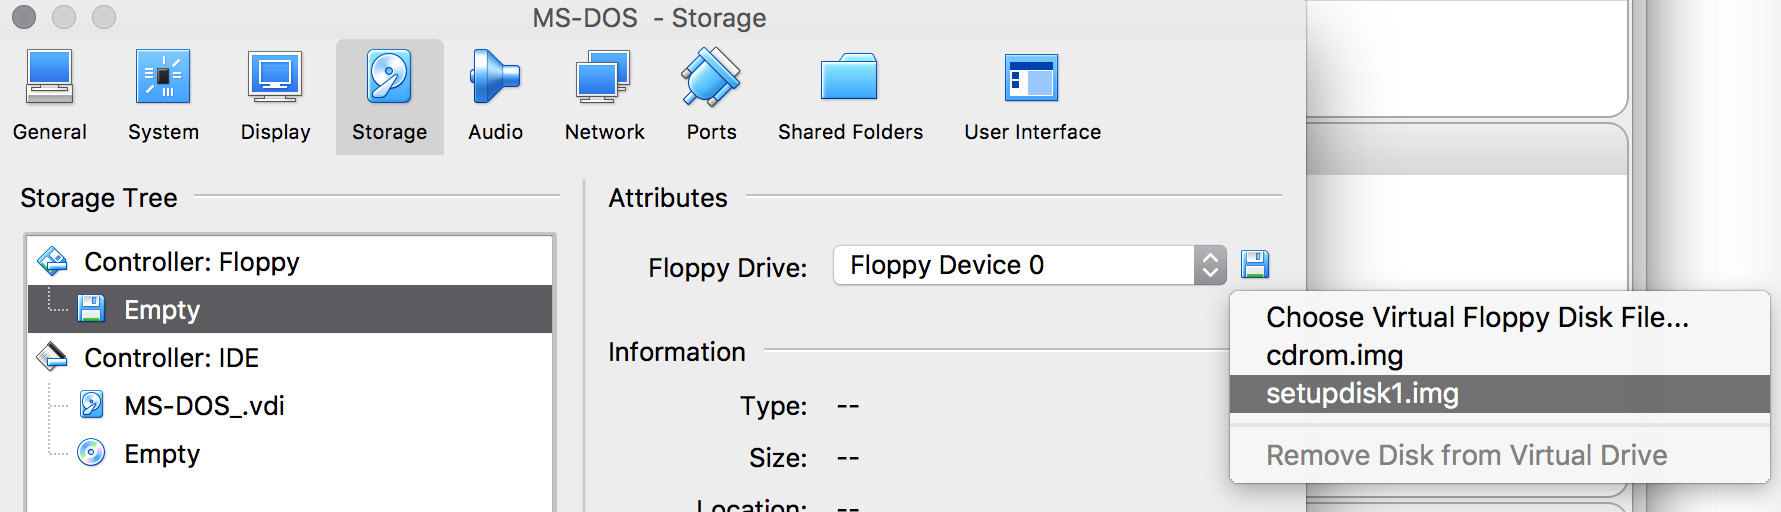
Once last thing, we need to “insert” the first floppy disk. Go back in to your VM’s Settings and choose Storage. High-lite Controller: Floppy > Empty with your cursor and then click the “Floppy Disk Icon” on the far-right of the screen. Choose the setupdisk1.img file that you just downloaded and extracted and click “OK”.
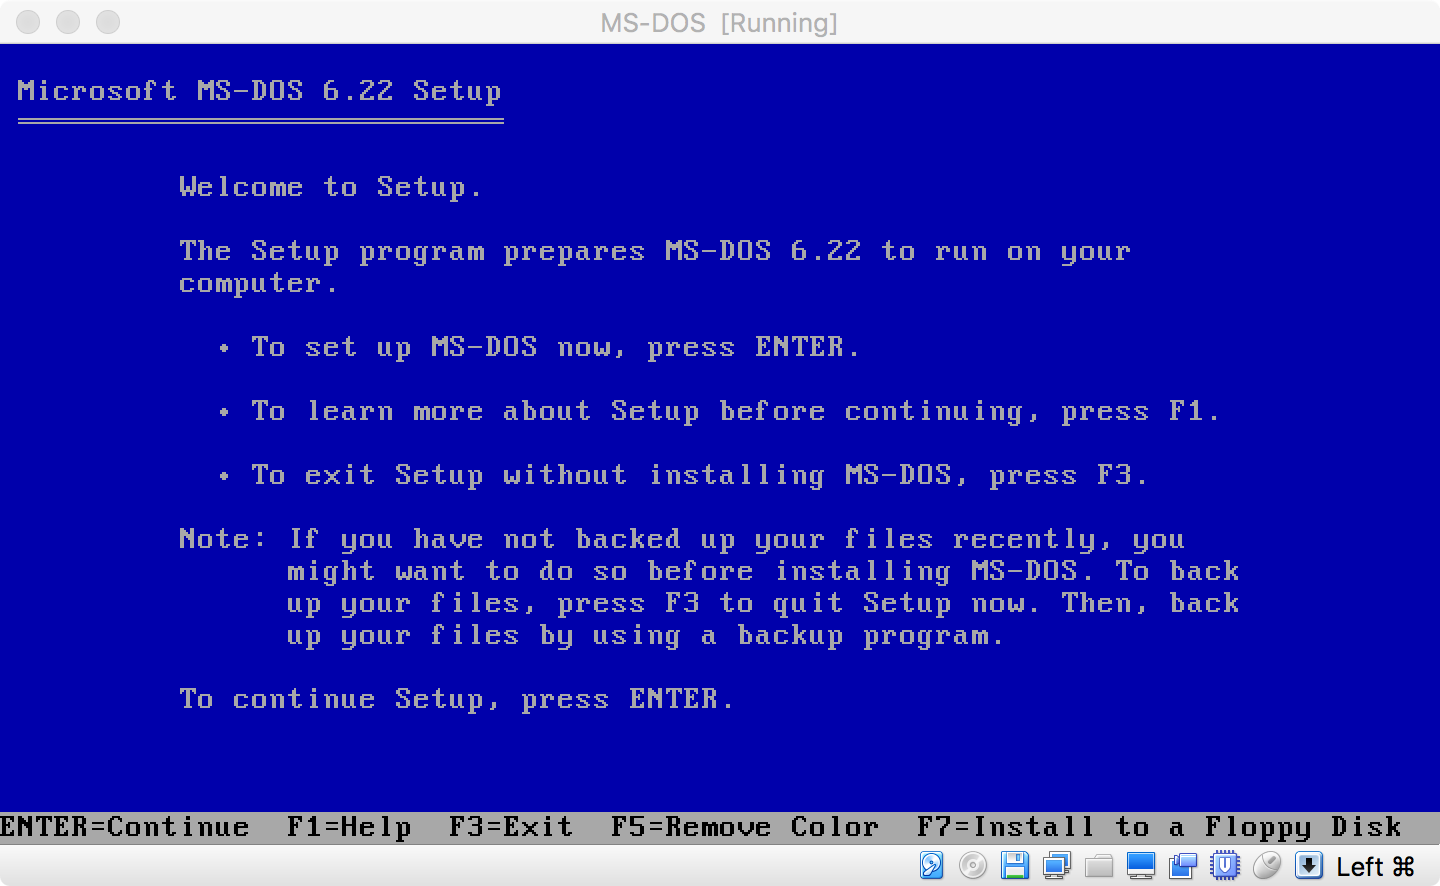
Lets get going. Click “Start” to “power on” the VM!
If everything is setup properly you should see the first setup screen. If you see any errors; boot device not found, etc, go back and verify all the VM settings.
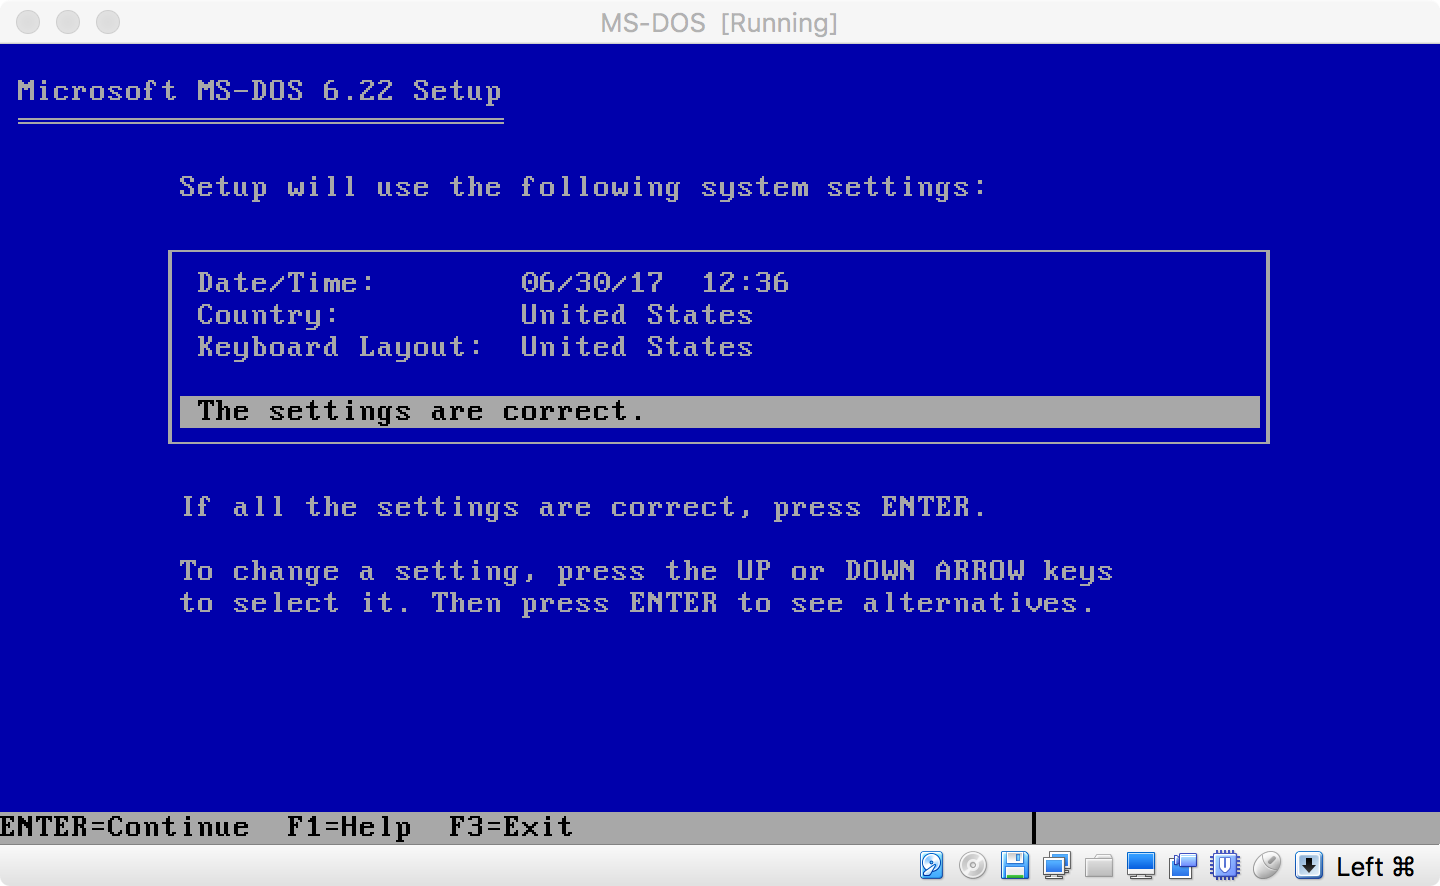
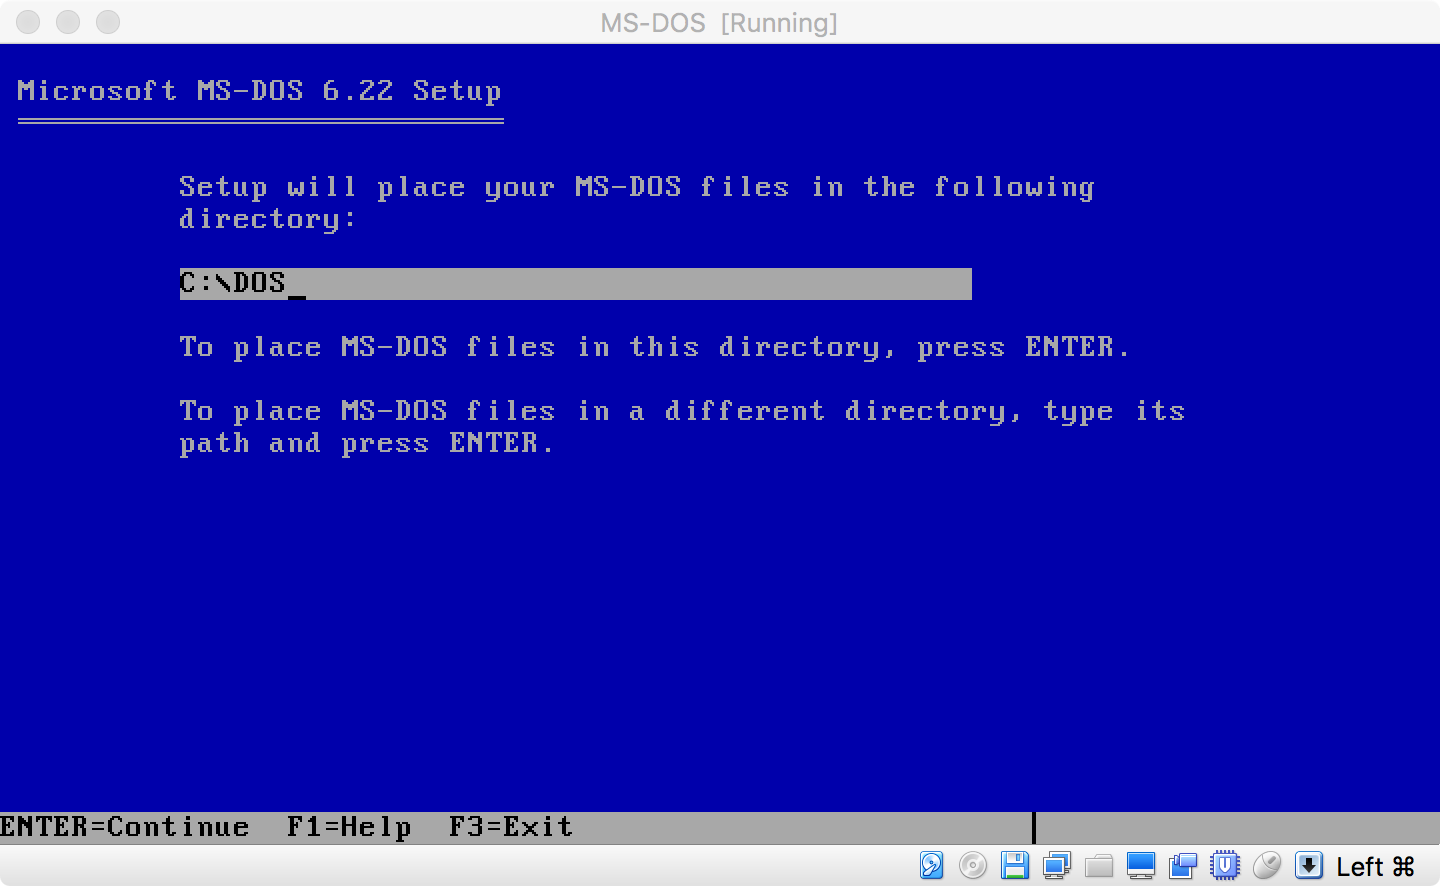
There aren’t many configuration options presented during the installation so I’m not going to list step-by-step instructions. Just leave the defaults, and hit ENTER on your keyboard to progress when prompted
After a couple of steps you’ll be asked to insert “Setup Disk #2”. Click on the “Floppy Disk” icon on the bottom toolbar of the VM window and select Disk 2 from the location that you extracted them. Do the same when asked for Disk 3.
When its all done you’ll be asked to “Remove disks from all floppy drives”. Click on the Floppy Disk toolbar icon again and select the “Remove” option. Hit Enter to reboot and when it comes back up you should see the (possible familiar) C:\> prompt.
If you’re completely new to DOS, here are some DOS commands to help you start poking around.
Optional Hardware
CD-ROM Drives
Floppy was king in 1994, and so yes, you actually had to manually install a driver to use your 1x “Multi-Media” CD-ROM drive.
- Download and extract the CD-ROM driver floppy from the link above.
- Mount the floppy disk image using the “disk icon” at the bottom of the VirtualBox window.
- Copy the driver file with:
COPY A:\OAKCDROM.SYS C:\DOS. Note that DOS is not case sensitive but convention of the day was to use UPPERCASE. I think this is a carry over from BASIC. EDIT C:\AUTOEXEC.BATand add the following line at the bottom:LOADHIGH=C:\DOS\MSCDEX.EXE /D:MSCD001. This will load the CD-ROM extension into “high memory” (anything above 640K). Remember, there’s isn’t a mouse cursor to move around on screen so you need to use the keyboard shortcuts to navigate theEDITprogram (ALT-F,ALT-S, andALT-X)- Now edit
C:\CONFIG.SYSadd add the file you copied over in the second step:DEVICE=C:\ DOS\OAKCDROM.SYS /D:MSCD001
SoundBlaster 16 Audio Driver
- Download and extract the SoundBlaster 16 driver floppy from the link above.
- Mount the floppy disk image.
- With this one, we can actually run a setup program. at your prompt, type in
A:\INSTALL. Progress through the installation steps by leaving the defaults and just hitting ENTER. - You should be all set - the setup program, if successful will have added some entries to your
AUTOEXEC.BATandCONFIG.SYSfiles.

Restart again to load the new configuration - and that’s it!
Comments
Categories
- Stories (4)
- Notes (2)
- Photo Albums (0)
Listening To...
Recent tracks from my Last.FM profile as of
Scrobbling since 23 Dec 2006 for a total of tracks.